
So you have LOAN token but they aren’t showing up in Metamask?
Use this guide for the easiest way to import LOAN to your wallet.
How To Add LOAN to Metamask
Step 1: Visit Liquid Loans dApp
The link for the Mainnet dApp is here.
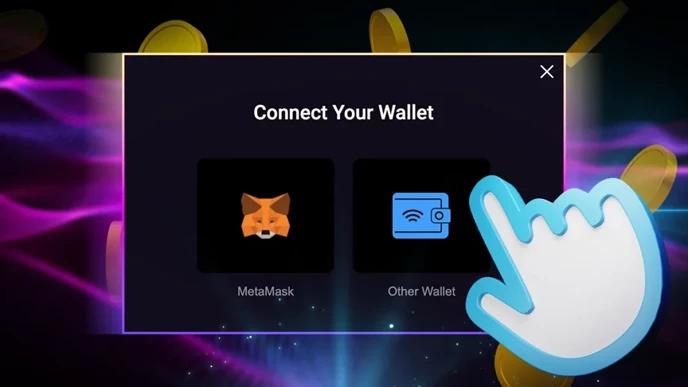
Step 2: Connect Wallet
Once you’ve signed into your wallet, click “Connect Wallet” in the top right corner of the dApp.

Choose Metamask Wallet or Other.
Step 3: Import USDL
Click the LOAN token logo on the top middle part of the dApp.

Choose “Add Token” on your Metamask pop-up.
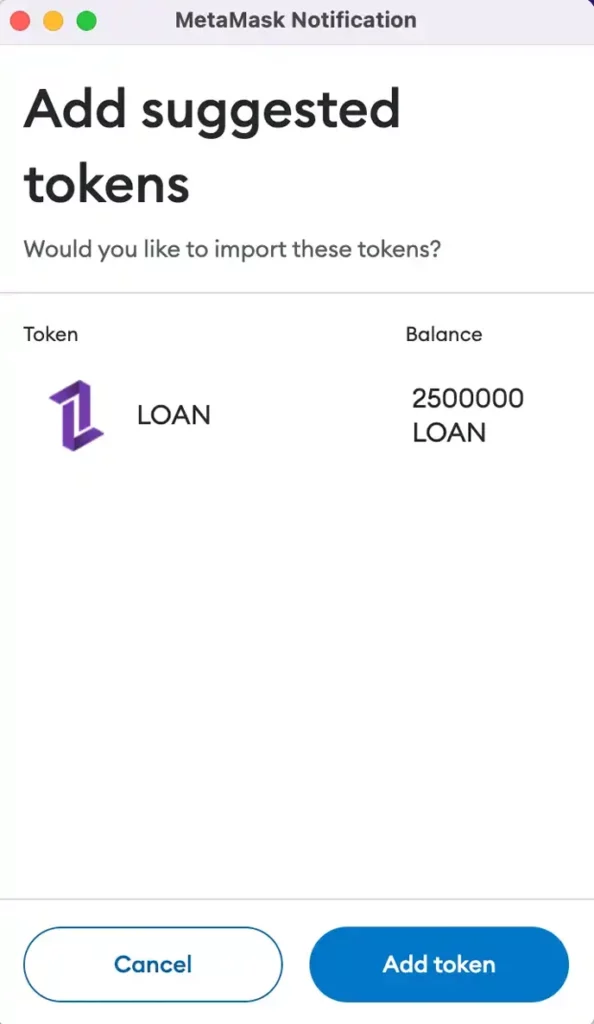
The dApp will confirm that the token has been added sucessfully.
How To Add LOAN Token To Your Wallet Manually
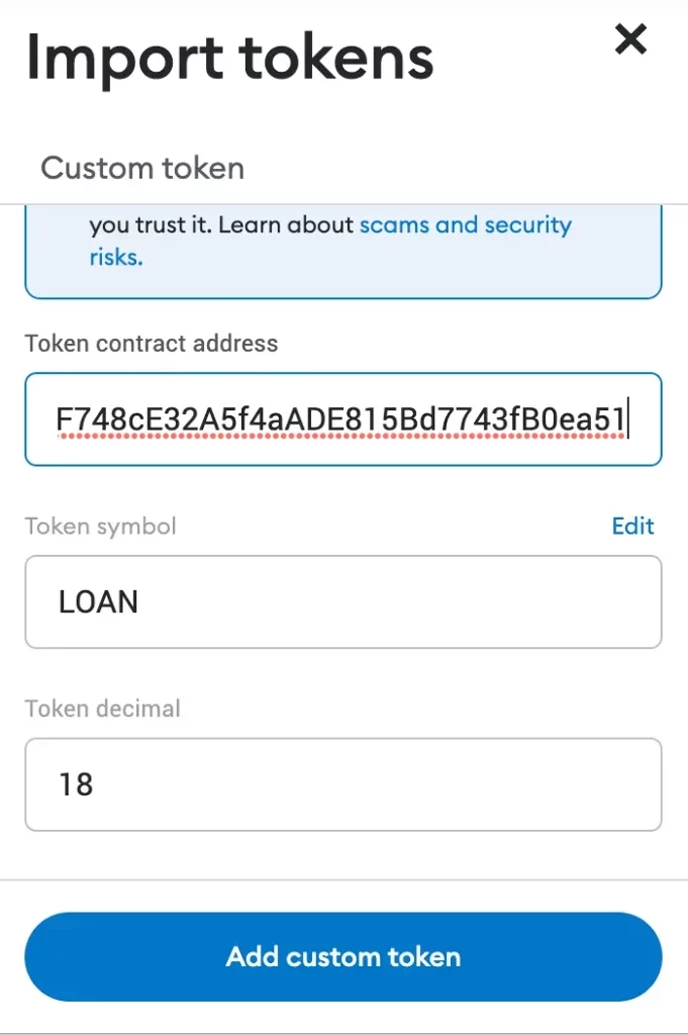
Step 1: Find the token address for LOAN.
For PulseChain Testnet v4, the token address is:
0xbe4F7C4DF748cE32A5f4aADE815Bd7743fB0ea51 with 18 decimals
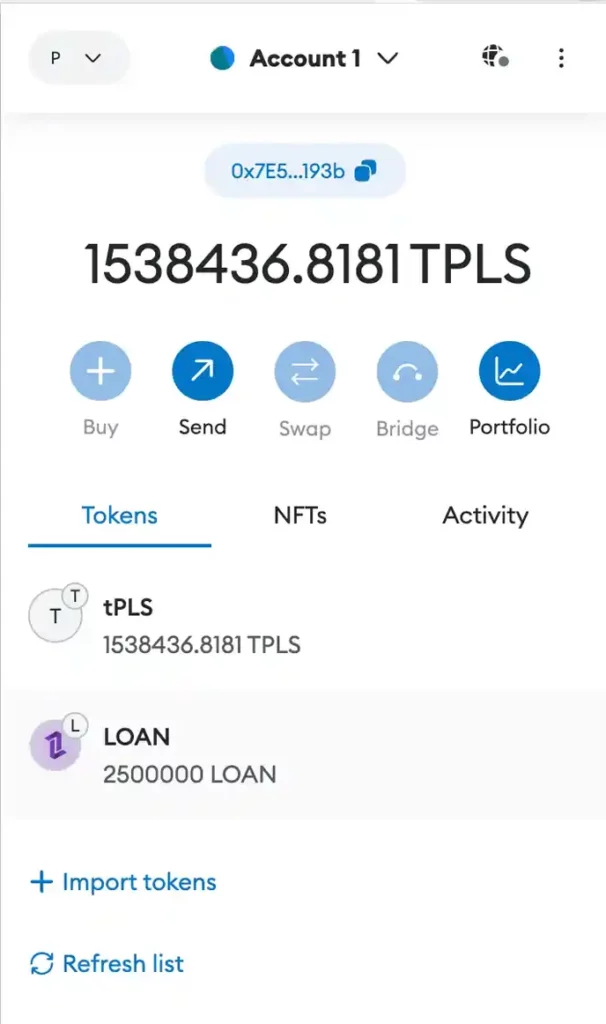
Step 2: Click “Import Tokens”
On your Metamask wallet token page, click “Import Tokens”
Step 3: Input Information
Add the token details from Step 1 and then click “Add Custom Token”
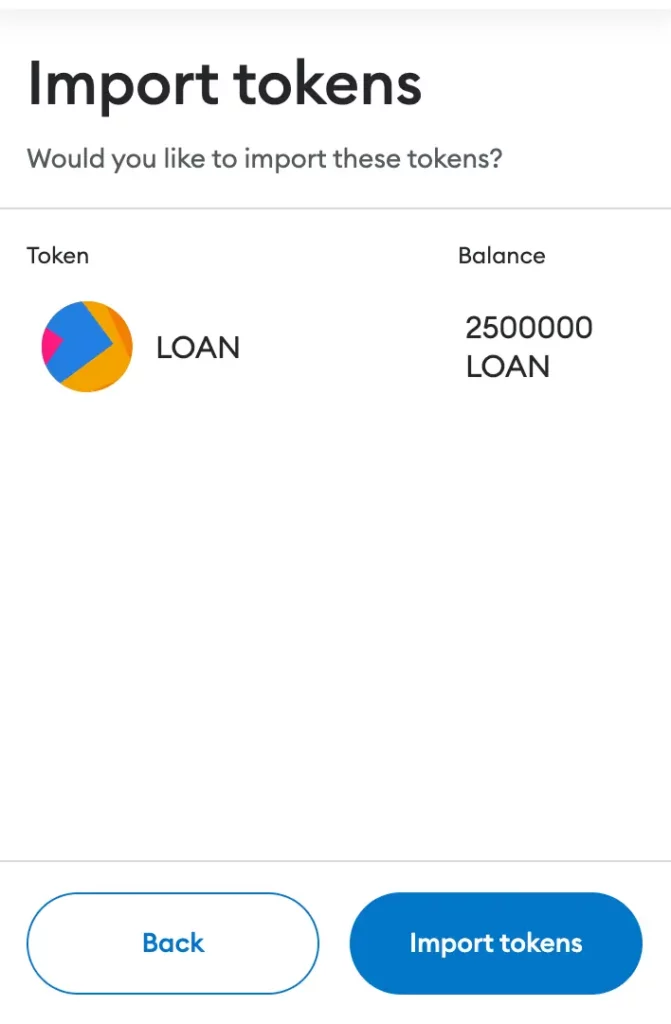
Step 4: Finally Import your Tokens
Click “Import Tokens” and your balances will appear.
NOTE: Although you may not see your tokens in your wallet display, does not mean they do not belong to your private key.
